
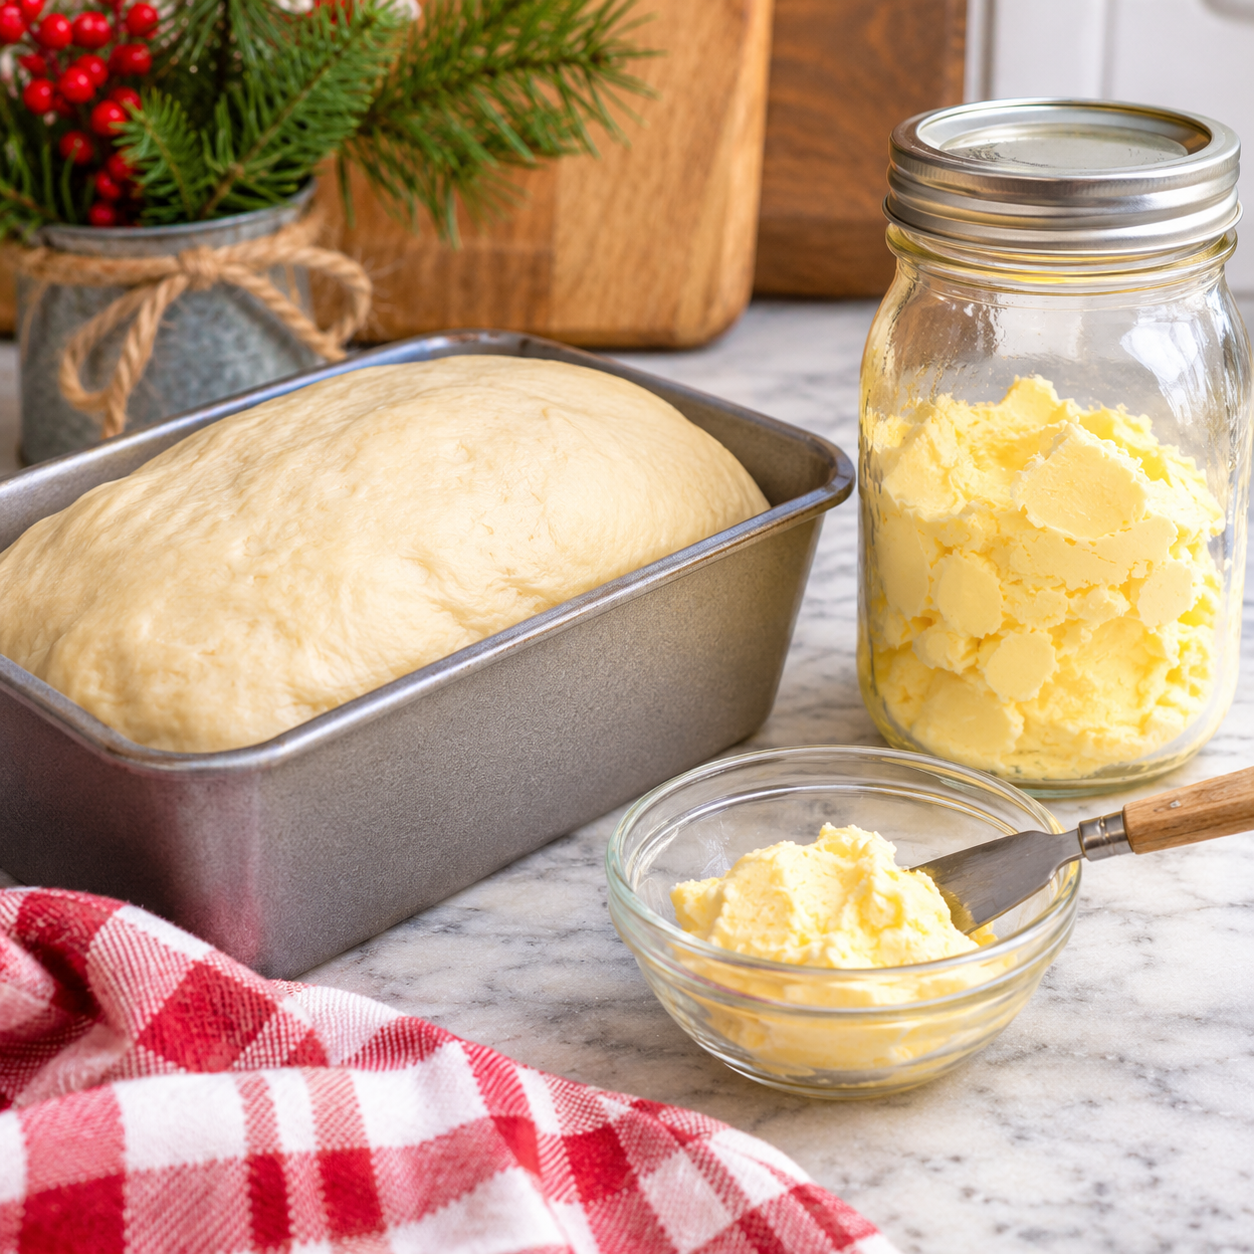
We Made Bread and Butter!
Download your FREE printable recipe card at the end of this post!
Thanksgiving is one of my favorite times of the year to bring a little extra fun into the classroom. Between the excitement of the upcoming holiday, the fall decorations, and all the talk about Thanksgiving dinner, it’s the perfect opportunity to mix learning with something hands-on!
One year, we decided to do something a little different with our students. Instead of just talking about Thanksgiving traditions and food, we made our own homemade bread and butter right in the classroom!
And let me tell you… the kids loved it!
We made bread in a bag and homemade butter while learning a little science along the way. It was messy, fun, delicious, and one of those activities that gets kids excited about learning.
The best part? You don’t need a fancy kitchen or a bunch of special supplies. This is an easy Thanksgiving activity that teachers can do with their students or parents can enjoy with their kids at home.
Why Make Bread and Butter With Kids?
There is something special about letting kids make something with their own hands. They get to measure, mix, shake, knead, and watch simple ingredients turn into something they can actually eat!
This activity is also a great way to sneak in some learning without making it feel like a lesson.
Here are a few things kids can learn along the way:
- Science: Discover how yeast helps bread dough rise and how cream changes into butter.
- Math: Practice measuring ingredients and following directions.
- Reading: Follow a recipe and put instructions in the correct order.
- Life Skills: Learn basic cooking skills and how to work together.
- Teamwork: Take turns mixing, shaking, and preparing the ingredients.
It’s a great reminder that some of the best learning experiences happen when kids get to participate instead of just watch!
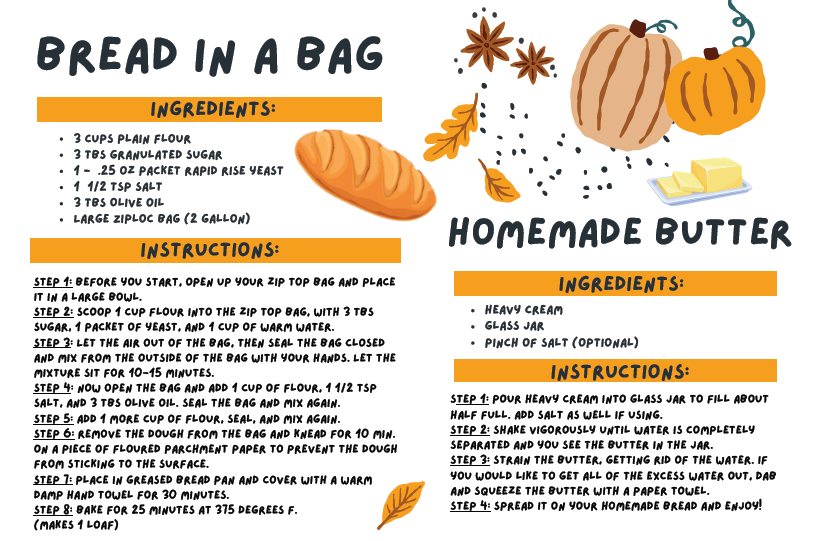
Recipe #1: Homemade Bread in a Bag
If you’ve never made bread in a bag before, you’re in for a treat! This recipe allows kids to mix most of their ingredients right inside a large Ziploc bag. It keeps things a little cleaner and gives everyone a chance to get involved.
Ingredients
- 3 cups plain flour
- 3 tablespoons granulated sugar
- 1 cup warm water
- 1 packet (0.25 oz) rapid-rise yeast
- 1 1/2 teaspoons salt
- 3 tablespoons olive oil
- 1 large 2-gallon Ziploc bag
Instructions
Step 1: Before starting, open your large zip-top bag and place it inside a large bowl.
Step 2: Add 1 cup of flour, 3 tablespoons of sugar, 1 packet of yeast, and 1 cup of warm water to the bag.
Step 3: Let the air out of the bag, seal it, and gently mix the ingredients by squishing the bag with your hands. Let the mixture sit for 10–15 minutes.
Step 4: Open the bag and add 1 cup of flour, 1 1/2 teaspoons of salt, and 3 tablespoons of olive oil. Seal the bag and mix again.
Step 5: Add the final 1 cup of flour, seal the bag, and mix again.
Step 6: Remove the dough from the bag and knead it for about 10 minutes on a piece of floured parchment paper.
Step 7: Place the dough in a greased bread pan and cover it with a warm, damp hand towel. Let it rise for 30 minutes.
Step 8: Bake at 375°F for approximately 25 minutes, or until done.
Makes: 1 loaf of homemade bread.
There’s something so exciting about watching the dough grow and change! Kids love seeing how the ingredients they mixed together eventually turn into a real loaf of bread.
Recipe #2: Homemade Butter in a Jar
Now for my favorite part… homemade butter!
This is probably the easiest part of the entire activity, and kids get such a kick out of it. All you need is heavy cream, a jar, and a little patience.
Ingredients
- Heavy cream
- Glass jar with a lid
- Pinch of salt (optional)
Instructions
Step 1: Pour heavy cream into a glass jar until it is about half full. Add a pinch of salt if desired.
Step 2: Secure the lid tightly and start shaking! Keep shaking until the cream separates and you can see the butter forming in the jar.
Step 3: Strain the butter to remove the liquid. If you want to remove additional moisture, dab and gently squeeze the butter with a paper towel.
Step 4: Spread your homemade butter onto your freshly baked bread and enjoy!
A little science lesson: When you shake heavy cream, the fat droplets begin sticking together. Eventually, they form butter, separating from the liquid called buttermilk. It’s pretty amazing what a little shaking can do!
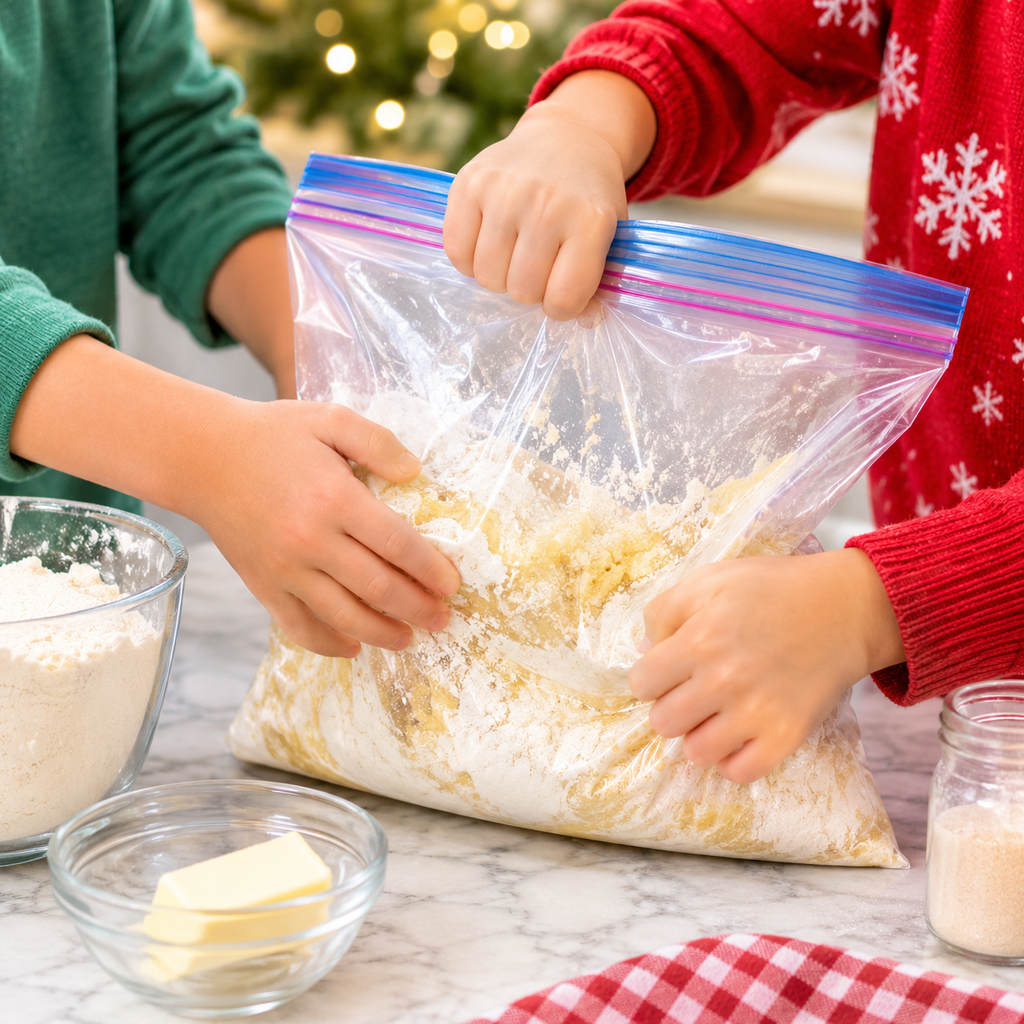
Make It a Thanksgiving Classroom Activity
If you’re a teacher looking for something fun to do before Thanksgiving break, this is a great activity to add to your plans.
You can divide your students into small groups and let everyone participate in a different part of the process. Some students can help measure ingredients, others can mix the bread dough, and everyone can take turns shaking the butter jar.
You could even turn the activity into a mini science lesson by asking students questions like:
- What do you think will happen when we mix these ingredients?
- Why does the bread dough get bigger?
- What do you notice happening inside the butter jar?
- How does the heavy cream change when we shake it?
- What do you think would happen if we skipped the yeast?
Have students write down their predictions before starting and then record what they observe.
It’s a simple way to combine science, writing, and cooking into one memorable Thanksgiving lesson!
Try It at Home With Your Kids!
Don’t have a classroom full of students? No problem!
This is just as fun to do at home with your own kids. You can make it a special afternoon activity leading up to Thanksgiving.
Put on some fall music, let the kids help with measuring and mixing, and enjoy making something together. You could even serve your homemade bread and butter alongside Thanksgiving dinner!
It’s also a fun opportunity to talk about Thanksgiving traditions, preparing food together, and being thankful for the little things.
A few simple ingredients can turn an ordinary afternoon into a memory your kids will talk about long after the holiday is over.
A Few Tips Before You Get Started
If you’re planning to try this activity, here are a few things that will help make the experience go smoothly:
- Use a large ziploc bag for mixing. (I used a 2 gallon bag)
- Make sure your water is warm, not hot.
- Have paper towels nearby. Things can get a little messy!
- Use a sturdy jar with a tightly secured lid for making butter.
- Give everyone a turn shaking the butter. It can take a little effort!
- Have an adult handle the oven, hot bread pan, and other hot equipment.
- Make sure everyone washes their hands before handling food.
For a classroom, it’s also helpful to prepare and measure some of the ingredients ahead of time.
Happy Thanksgiving!
Whether you’re a teacher looking for a fun activity before Thanksgiving break or a parent hoping to make a few holiday memories at home, I hope you give homemade bread in a bag and butter a try!
Sometimes the best holiday activities aren’t the ones that require expensive supplies or hours of preparation. They’re the simple ones that bring everyone together, encourage a little creativity, and give kids the chance to learn something new.
And if you ask me, fresh homemade bread with butter made by little hands is a pretty great way to celebrate Thanksgiving!
Print your keepsake printable to keep year after year! Send them home with students as a fun way to connect home & school! Enjoy!
Happy Thanksgiving from Eleven Dragonflies!